Tips For Jewellery Photography

May 29, 2023
Jewellery photography can look super slick and visually striking. If you are a jewellery designer or run a jewellery store you are lucky that your products are so photogenic and your visual marketing can make any potential customer stop on their doom-scrolling tracks. BUT it is difficult to photograph and it can look pretty terrible if you’re not sure what you’re doing. Fear not! I have five tips for jewellery photography that will set you off on the right track.
Five tips for DIY jewellery photography
1) Lighting – this is probably the most important thing when photographing jewellery, or small objects in general. The brighter your set up the better! Bright natural light next to a window may do the job but if you live somewhere were bright sunny days are limited I advise you invest in studio lighting (continuous or flash, whatever you are most comfortable with) to make sure your jewellery pieces are well lit. You will love artificial lighting because it’s consistent and can be controlled. Whereas natural light is limiting and ever changing.
2) Clean clean clean – Be sure to clean up your background and props. Most important of all, you must clean the pieces and use gloves to avoid getting any finger prints on your jewellery. Trust me, the camera will pick up EVERYTHING!
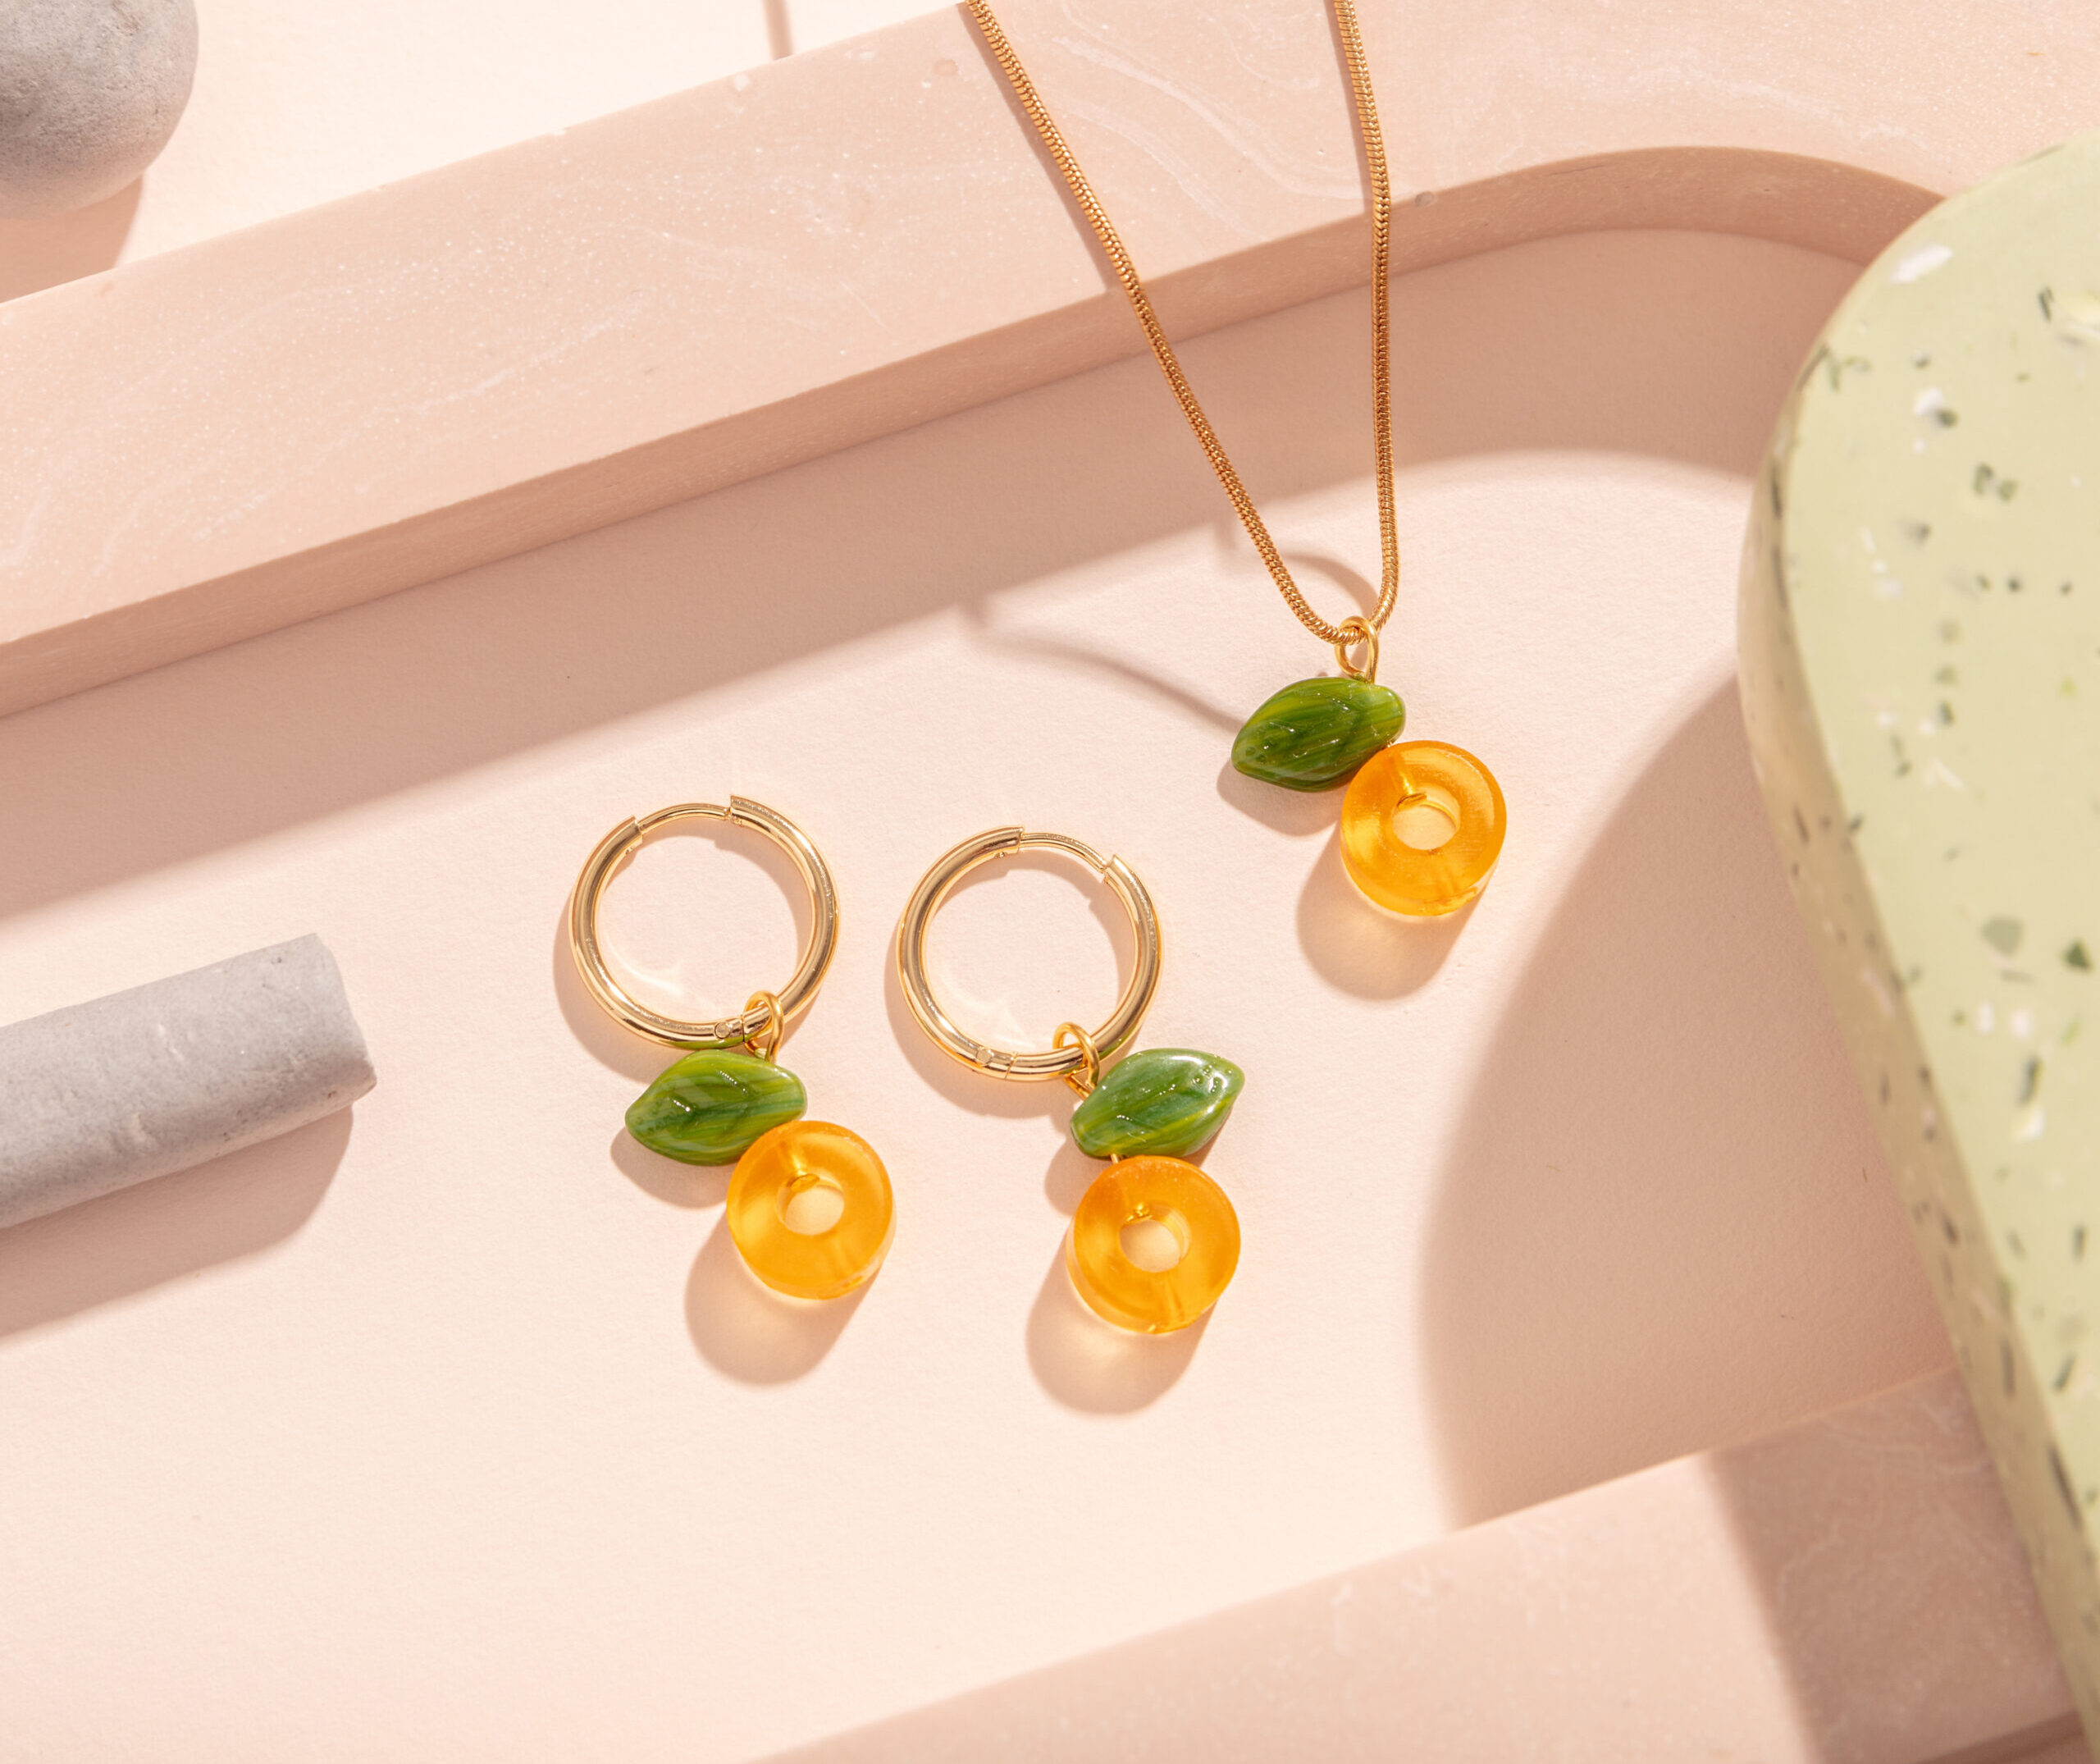
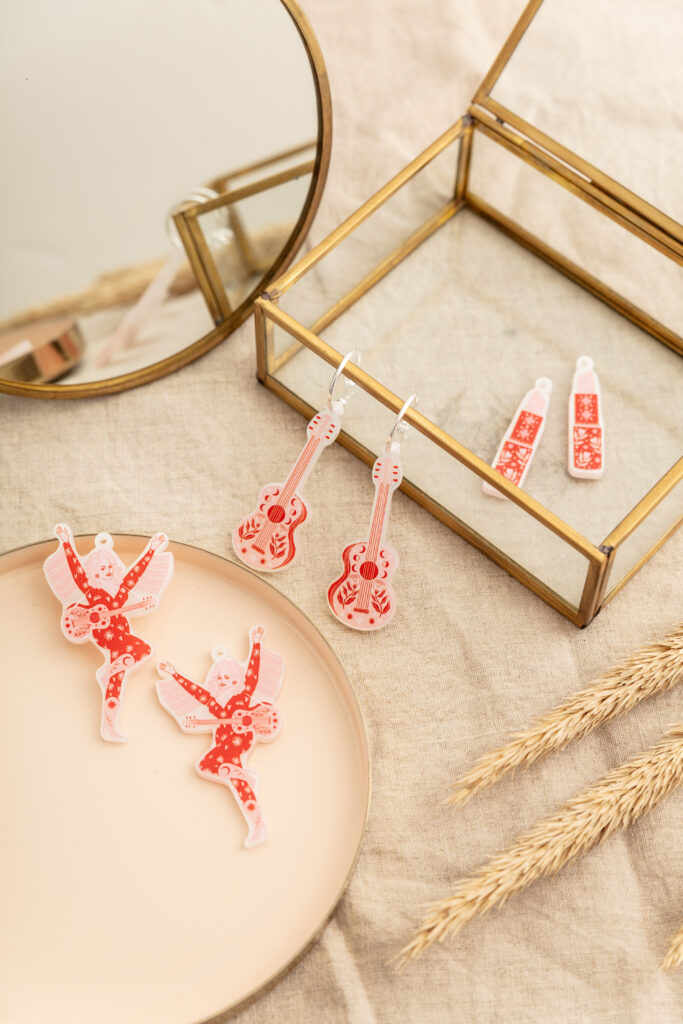
3) Keep it simple – use subtle textures and simple props. A common mistake it to style jewellery with props that stand out too much as take the focus away from the jewellery. Instead, if you do choose to use props, try small ones in light, neutral tones so that they’ll add interest and a sense of scale without stealing the show. Foliage and small flowers work well for jewellery photography.
4) Zoom in – when using a standard lens make sure you zoom in to at least 50mm. This will get rid of any unwanted distortion and stop you from getting too close to the jewellery and potentially casting a shadow over it. If you are using a camera phone you can still zoom in a little but remember, too much zoom may affect the image quality.
5) Editing – Use photo editing software to make sure the images is bright enough, and tweak the temperature if needed to make sure the colours are as close to the real thing as possible. You may even add a little contrast to give it some humph. Just remember to be subtle when editing your photos.


Equipment recommendations
If you’d like to invest in some equipment for your jewellery photography, here are some recommendations to get you started:
- Bright continuous light – Godox SL60W
- Tacky wax for propping up jewellery
- White foam boards for bouncing light – from any stationery shop
- Vinyl backgrounds – see previous blog post for links
- Free editing software – Pixlr
Practice makes perfect! Don’t be disheartened if your first few photos don’t look as good as you hoped. It’s important to find a lighting set up that works for you and you may even need to play around with the lighting you have to see what works best. Try different background and props to see what makes your jewellery look its best in the photos – it always looks very different in real life in comparison to how it looks in photos. You may even have to learn how to use the equipment you have in a way that allows you to achieve what you envisioned. So keep it up and be creative!
If you are looking for inspiration you can check out my jewellery photography page.
Thank you so much for sharing the informative article.